Clean + Easy Professional Waxing Spa Basic Kit
Clean + Easy Professional Waxing Spa Basic Kit is backordered and will ship as soon as it is back in stock.
Pickup currently unavailable at JNBS ORFUS

Clean + Easy Professional Waxing Spa Basic Kit is backordered and will ship as soon as it is back in stock.
Description
Description
Product Overview
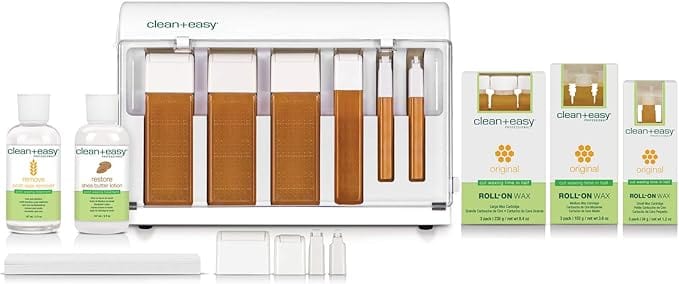
An all-in-one kit that is perfect for students and beginner estheticians.
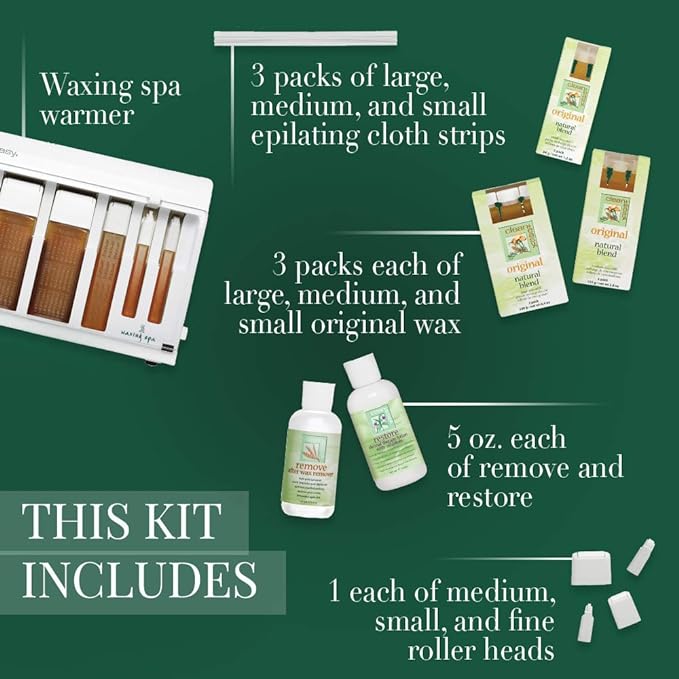
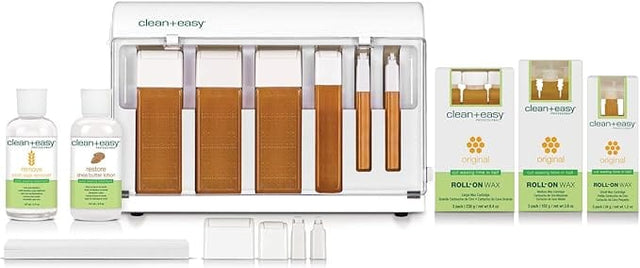
Kit Includes:
- Waxing spa warmer
- 3 Pack of Each: Large, Medium and Small Original wax refill
- 3 Pack of Large roller heads
- 1 Each: Medium, Small and Fine roller heads
- 50 of Each: Large, Medium and Small waxing strips
- 5 oz Remove Post-Wax Remover
- 5 oz Restore Shea Butter Lotion
- Educational DVD
- Instruction booklet


How to Use
1. Insert plug of waxer into receptacle.
2. Raise front door on waxer to allow applicators to be inserted.
3. Remove caps from wax applicators and place rollers on, turning roller heads until they stop. Do not overturn the rollers.
4. Insert wax applicators into the waxer with the roller facing the heat plate. This allows the roller to remain warm and allows for easier and cleaner application.
5. Place cloth strips into the pockets located on the back of the unit.
6. Lower the waxer door. This permits faster heating. Note: Two additional large wax bottles may be inserted into the pocket on the rear of the waxer. This will keep the wax warm and will heat up faster when placed into the unit.
7. Turn the unit on by moving the lighted toggle switch, located on the left side to the “on” position. Set the variable thermostat located on the left side to the highest position (full clockwise). Allow 30 minutes for the wax bottles to come to a working temperature. After the wax heats up to a working temperature turn the control knob to the center position. Please note that the optimum comfortable temperature setting for the wax can be adjusted by the salon beautician to compensate for room temperature, voltage differences or for personal preferences.
NOTE: For facial and body wax (which may be used less frequently) store outside of the heater until ready to use. Repeated heating of wax may cause it to thicken. Between customers, the thermostat should be turned to the lowest setting (stand-by) overnight, the heater should be either shut off or left on stand-by . The door on the waxer may be left in the up position to allow faster access to the wax bottles.
WAXING PROCEDURE
1. Clean skin with clean+easy® Cleanse Pre-Wax Cleanser to remove all traces of oils, dead skin cells, perspiration and bacteria.
2. Apply wax very lightly (ensuring a thin layer of wax) in the direction of the hair growth. A thin application of wax ensures ease of removal and economy.
3. Apply waxing strip using a firmstroke in the direction of the hair growth. This ensures that both the wax and hair may be removed efficiently and no residue is left on the skin.
4. The waxing strip must be removed against the hair growth and parallel to the skin in one smooth motion. This ensures that the hair will be removed effectively. Incorrect removal causes skin irritation and bruising. It causes the hair to break rather than be removed by the root, thus causing ingrown hairs.
POST WAXING TREATMENT
• Remove wax residue from the skin with Remove Post-Wax Remover. Apply with tissue using slow massaging movements. This post-wax cleanser can also be used to clean the wax roller heads and the wax warmer.
• Apply Restore Shea Butter Lotion to help soothe, condition and protect the skin. Apply with slow massaging movements.
Warning
*Keep out of reach of children
Product Overview
Product Overview
How to use
How to use
Warning
Warning
Payment & Security
Payment methods
Your payment information is processed securely. We do not store credit card details nor have access to your credit card information.


